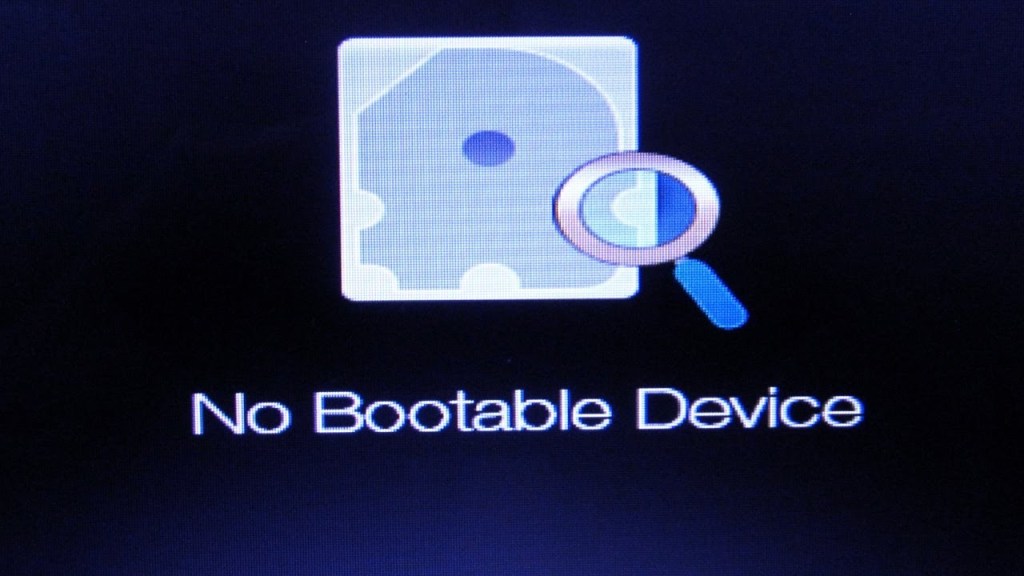
This is a common error found when booting after installing Ubuntu 18.04 or later on M2 PCIe SSD. In this article i have added configuration for UEFI / BIOS settings before installing Ubuntu from installation medium.
Graphics are not good quality but explanation is provided for each screen. Please make sure your settings are set accordingly
Desclaimer: This task is very risky and author / company does not take any responsibility for any loss or damage , please make sure you have appropriate backup before performing this task.
Below Images and setting are from DELL Inspiron 14 5000 BIOS / UEFI setup.
M2 PCIe SSD-0 1024 GB , was used for this installation and the problem was no boot device found after installation. To fix it you need to set the below settings in your bios before performing the installation. Please note your bios might show different words but all bios / uefi setup have almost same settings
In boot list option select UEFI selecting Legacy option does provide old setup and drivers might get issue.
For UEFI boot path security set to Never , this will allow the disk to be added in UEFI list.
Keep this default “Deployed Mode”
Keep Secure boot disabled , Please note Secure boot and UEFI boot path security are separate options
Keep Legacy Option ROM enabled as it allows to install from USB , CDROM etc.
Once settings are done boot from your USB or DVD and perform the installation as normal.
Hardware : Linux in general and Red Hat kernel supports lots of different hardware variants as well as virtual environment . A complete list of redhat supported hardware you can verify https://access.redhat.com/ecosystem/search/#/category/Server.
Memory : 1.5GB minimum, 1.5GB per logical CPU recommended
10GB minimum, 20GB recommended
Once requirements are out of the way make sure the boot is set in the physical / virtual environment before performing the boot. Below is the first screen on successful boot of RHEL8 CD. Pressing TAB key will display the actual command that will be executed upon install.
There are multiple ways to install RHEL 8 but the most common for the first installation is using an ISO , others will be discussed during installation below.
The very first installation screen is the installation language , note this is not necessary the language to be used by the users. Select the required language by default US English is selected , press Continue
After selecting the installation language a very clean installation summary is given to select all the required option for the installation , most of these have the default already set such as Language Support and KDUMP , but few of these need to be set such as “Time & Date” , a new window will open for the time and date settings.
from the above you can
set the time in 24 hour / 12 hours
select the date
Select region and city
Keyboard Layout
NTP Server Settings
Click Ok to return to Main Option Menu Screen.
Next is the installation source , you can select different sources for your installation media as below.
Auto-Detect installation media is the ISO image used for booting RHEL 8 setup , there is option to choose a custom ISO , add multiple repositories in your environment (if available) , perform Network Install. Click Done to get back to Main Options.
Click edit button to change this text. Lorem ipsum dolor sit amet, consectetur adipiscing elit. Ut elit tellus, luctus nec ullamcorper mattis, pulvinar dapibus leo.
Next is Software Selection , Pre Packaged bundles and custom packages , select the one that best suites your requirement.
There are few pre-packaged bundles
Virtualization Host environment contains a set of software packages needed for running virtual machines on the system
Minimal install only installs a basic version of Red Hat Enterprise Linux with only a minimal amount of additional software
Server installs infrastructure and networking packages
Server with GUI installs infrastructure and networking + GUI
Workstation is the user friendly desktop , laptop packages
Custom Operating System installs all the packages that admin selects to install.
Once desired packages are selected click Done. Next is the selection of Storage type.
Select installation destination asks for the location to install the OS , it provide the option to select the new disk , select Automatic or Custom partitioning.
Full disk summary and boot loader link shows the options selected for the installation of the new operating system.
Next select Network and Host Name as below, by default in RHEL 8 networking is disabled.
In the above screen you can select Static or Dynamic IP addressing , configure Host Name settings. By clicking on Configure you can set the static settings for route , DNS as well as static ip address.
Security Policy and System Purpose are optional settings.
After all the options are configured click “Begin Installation” and installation will commence. On the next screen there are two option to set the first user and the root password these are required before installation completes.
Once installation has completed you will see the option to reboot the system. Please make sure that the installation media is removed prior to reboot.